Add an Entry
Insert a new row into a table using the web admin panel.Overview
An entry is a single row in a table. Once you have a table with fields defined, you can start inserting entries through the admin panel or via the API.
Steps
1. Open the Table
Navigate to your database and click on the table you want to add an entry to.
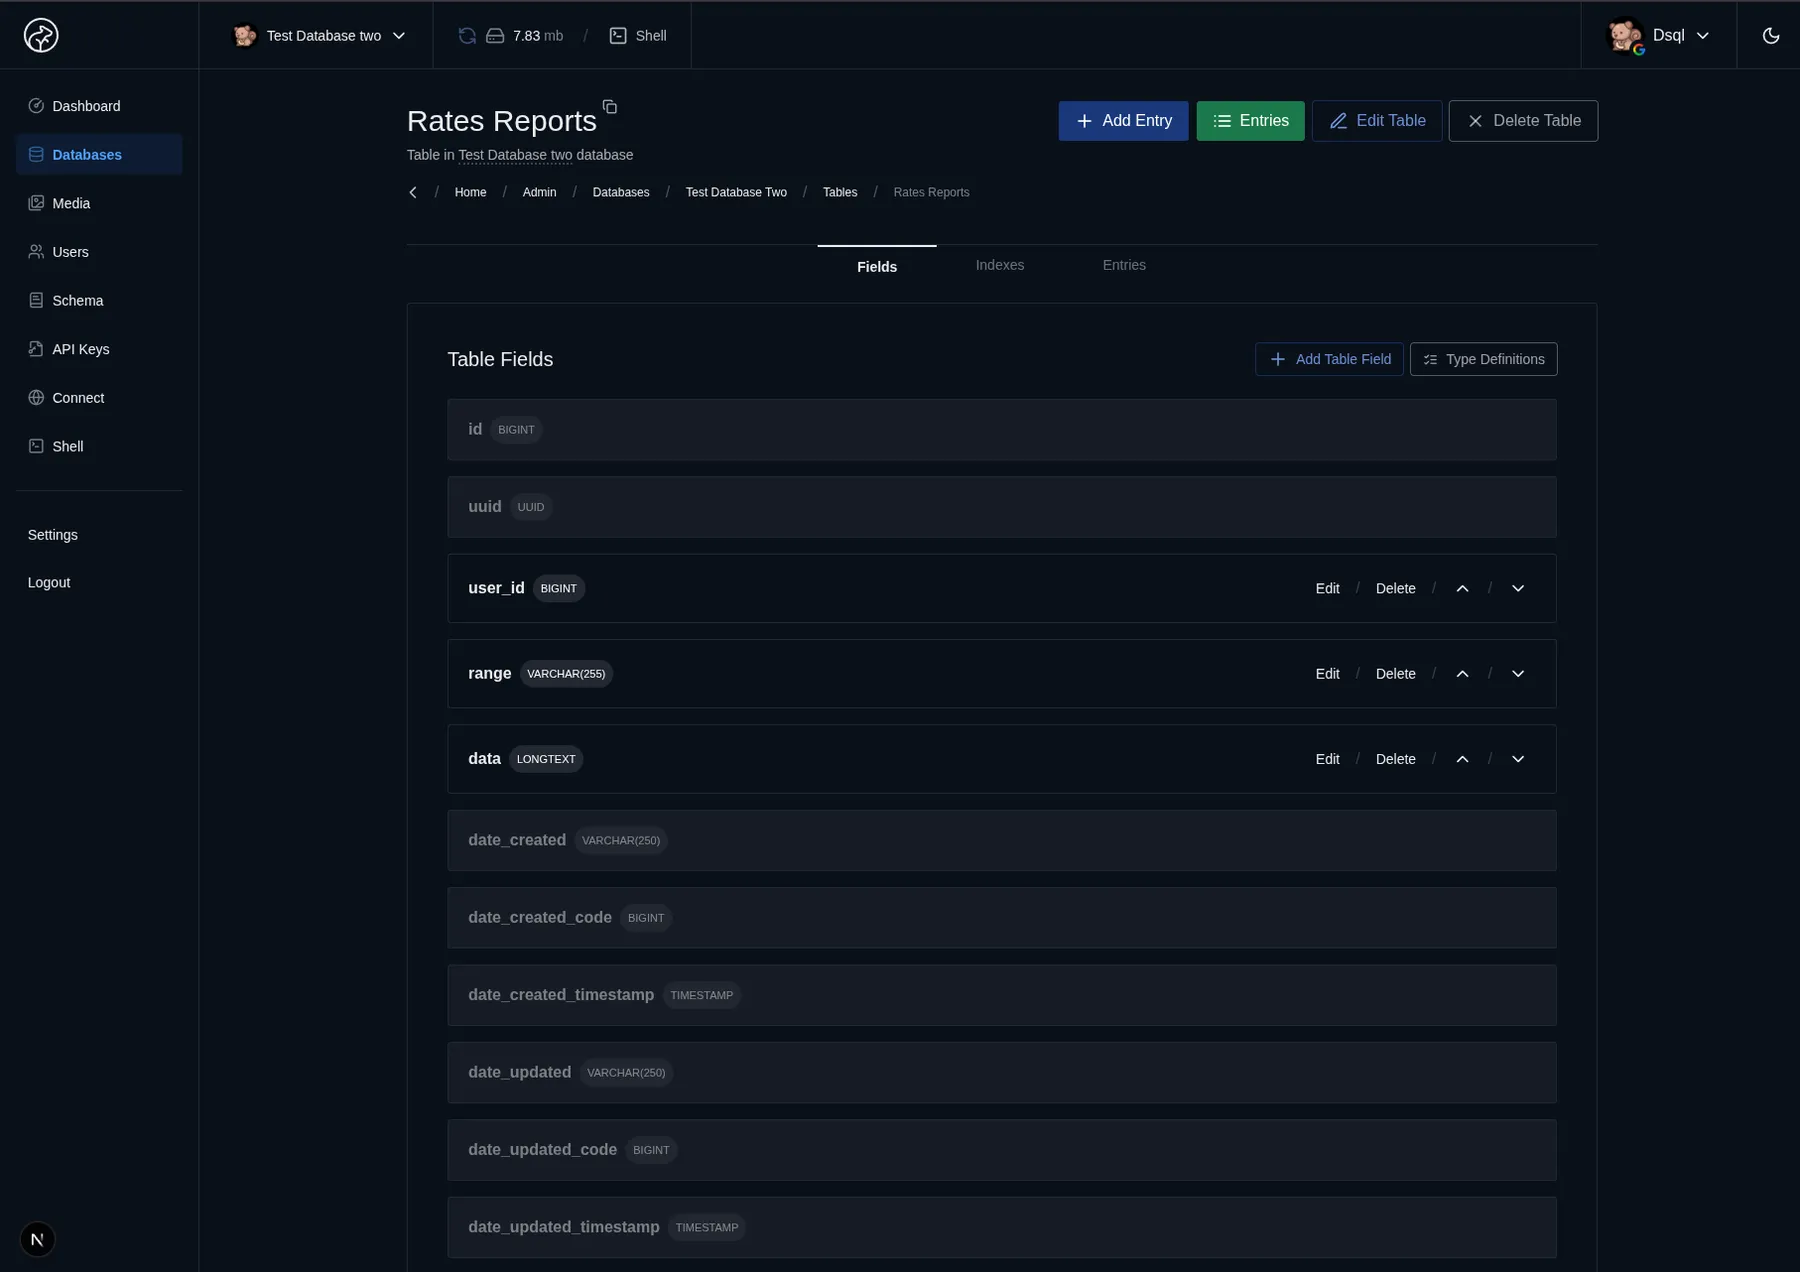
2. Click Add New Table Entry
Click the Add New Table Entry button at the top of the table page.
3. Fill in the Fields
A form will appear with an input for each field in your table. Fill in the values:
- Fields marked Required must have a value — the form will not submit without them.
- Fields with a Default Value are pre-filled — you can leave them or override the default.
- Rich fields (HTML, Markdown, JSON, code) open in their dedicated editors.
4. Save the Entry
Click Add Entry. The new row is inserted into the table and will appear in the table view immediately.
Editing an Entry
To edit an existing entry, click on the row in the table view to open the edit form. Change the values and click Update Entry.
Deleting an Entry
To delete an entry, open the edit form and click Delete Entry, or use the delete action in the table row controls. Deleted entries are permanently removed from the database.
Adding Entries via the API
Entries can also be inserted programmatically using the REST API or the npm package. See API Reference → POST for details.
What's Next
- API Reference → CRUD — manage entries programmatically
- Media — upload and attach files to your entries