Create a Table
Add a new table to an existing database using the web admin panel.Overview
A table is a structured set of rows, where every row has the same columns (fields). Before you can add data, you need to create at least one table in your database and define its fields.
Steps
1. Open a Database
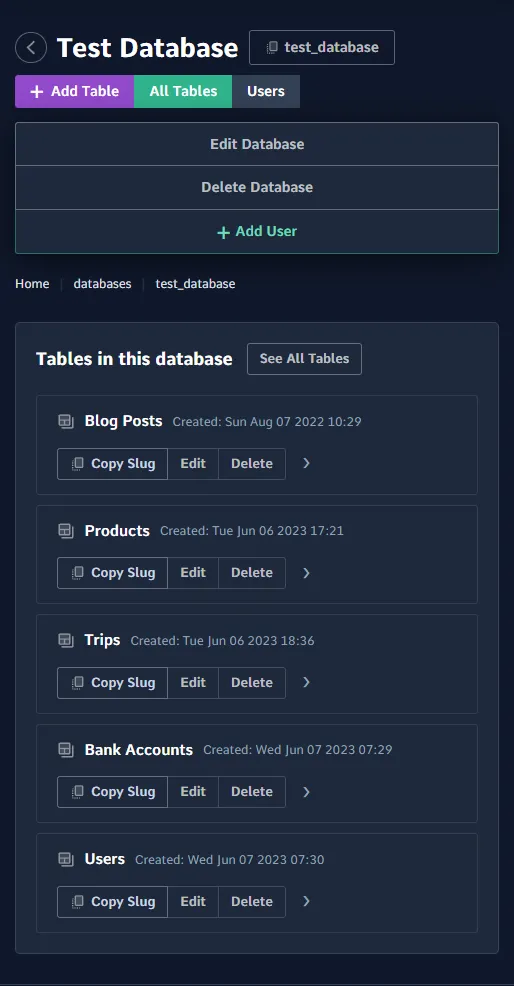
Navigate to the database you want to add a table to. Click on the database from the Databases list.
2. Click Add Table
On the database page, click the Add Table button.
3. Name the Table
Enter a name for the table. Table names should use lowercase letters, numbers, and underscores (e.g. blog_posts).
4. Add Fields
The table creation form includes a field editor. Add at least one field to define the structure of the table. For each field, provide:
- Field Name — the column name (e.g.
title,created_at). - Data Type — the SQL data type for the column. See Data Types for the full list.
- Required — whether the field must have a value (NOT NULL constraint).
- Default Value — a default value used when no value is provided.
- More — additional options including encryption and foreign key relationships.
See Create Table Fields for a detailed breakdown of each field option.
5. Save the Table
Click Add Table to create the table. It will appear in the table list for the database.
What's Next
- Create Table Fields — learn more about field types and options
- Add an Entry — insert your first row
- Create Table Indexes — add indexes to improve query speed